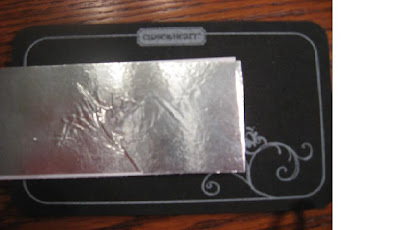
1. Cut your cardstock to the size that you need & peel the Flashing Tape (found at a hardware store) off its backing.

2. Cover your cardstock with the Flashing Tape. If there is a seam it's ok! Burnish the metal with your bone folder. Use your brayer to smooth out the tape on the cardstock.

3. Cut out your shape with a die cut machine. (I used the Cuttlebug). You can run it through an embossing folder or plate to give it texture, if you want.

4. The finished Faux Metal shape. You can use it at this point, or you can distress it with StazOn and mark it up with your stylus, bone folder, or fingernail. To age it-smear StazOn all over the die cut and wipe off with a paper towel. You can also use alcohol inks on it. If you distress it with tools the seam is hardly noticeable!

I put my CUTE little butterflies on this layout for my daughter's 1st birthday.

Up close of 1st page.

Up close of 2nd page.

Here is an up close of the cute little butterflies! I'll add more butterflies to this page once I get the pictures on her layout.

Items used to make this layout:
Cuttlebug 2 step butterfly die
CTMH Life Delights Level 2 Paper Packet X7089B
CTMH Chocolate Ribbon Z1127
CTMH Exclusive Inks Blush Stamp Pad Z2106
CTMH Reflections Scrapbook Program 9031
I hope you enjoy this technique! If you would like to buy any of the Close To My Heart products that I used here, you may buy them at my CTMH store. Click HERE
(`'·.¸(`'·.¸ ♥ ¸.·'´ )¸. ·'´)
«´¨`·.. ♥Angela ♥..·´¨`»
( ¸.·'´(¸.·'´ ♥ `'· .¸)`'·.¸)


No comments:
Post a Comment